Elevate Your POV Filming: From Ordinary Clips to Immersive Storytelling
Great footage isn't just seen; it's felt. The goal of POV video is to trigger a sensory memory—the crunch of snow, the hum of a city, the focus of a workspace. But too often, technical limitations like bad audio or poor stabilization break that spell. Don't let your memories become unwatchable clips. Whether you are a thrill-seeker, a traveler, or a quiet observer, this guide provides the technical roadmap to ensure your footage looks and feels as real as the moment itself.
Part 1: The Science of Immersion – Why POV Matters
Before we discuss hardware, we must understand the psychology of the shot. POV (Point of View) isn't just a camera angle; it is a psychological hook. By placing the lens at the rider’s or traveler’s eye level, you remove the barrier between the audience and the action.
Why has this format exploded from niche sport clips to a dominant social media force?
1. The "Mirror Neuron" Effect
When a viewer watches a first-person video of someone skiing off a cliff or navigating a busy Tokyo street, their brain’s mirror neurons fire. They aren't just watching you; psychologically, they feel like they are doing it.
- The Benefit: This creates significantly higher retention rates. Viewers stay to "finish the ride" because they are emotionally invested in the movement.
2. Ultimate Authenticity
In an era of AI-generated images and highly staged studio productions, POV feels raw and real. It signals to the audience: "I was actually here. This really happened."
- The Benefit: It builds massive trust. This is why travel vloggers using Osmo Pocket 3 POV shots often see higher engagement than those using cinematic drone shots alone—it feels attainable and honest.
3. The "Tutorial" Value
For niche communities—mountain biking, mechanics, cooking, or painting—POV is the ultimate educational tool.
- The Benefit: It shows the hands and the technique from the performer's perspective. If you are teaching a skill, POV is the only angle that matters.
Part 2: The Gear Ecosystem – Choosing the Right Tool
A true POV camera must be invisible to the user but omnipotent in its capture. It needs to handle dynamic range (bright sky vs. dark forest) instantly and smooth out aggressive vibrations.
Here is the breakdown of the DJI ecosystem based on your shooting style:
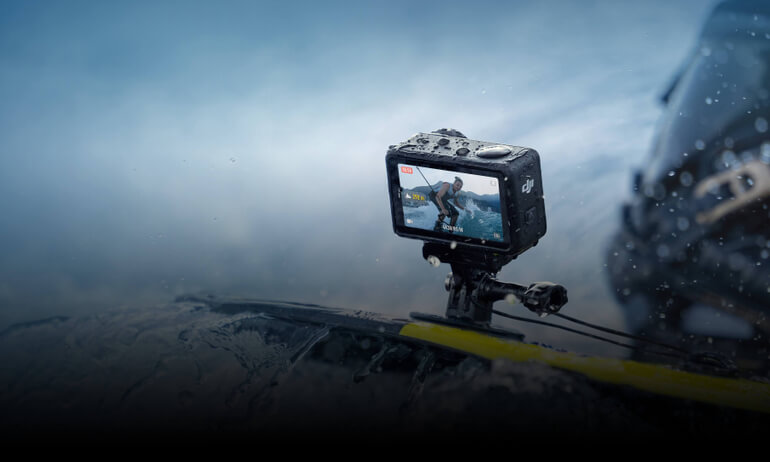
1. The Flagship: DJI Osmo Action 6
Best For: Professional Cycling, High-Speed Sports, and Mixed Lighting.
The Osmo Action 6 is the industry standard for uncompromising performance. It introduces a revolutionary Variable Aperture, allowing you to control depth of field and exposure manually—a first for action cameras.
-
Pro Tip: Use the 155° Ultra-Wide FOV to make flat trails look faster and steeper.
-
Key Stat: 4K/120fps recording ensures buttery smooth slow-motion playback.
2. The Endurance King: DJI Osmo Action 5 Pro
Best For: Long-Distance Touring and Adventure Travel.
When the ride lasts all day, battery anxiety is the enemy. The Action 5 Pro offers extended battery life and rapid charging. Its sensor excels in high-contrast scenarios, preserving details in both the shadows of the trees and the brightness of the clouds.
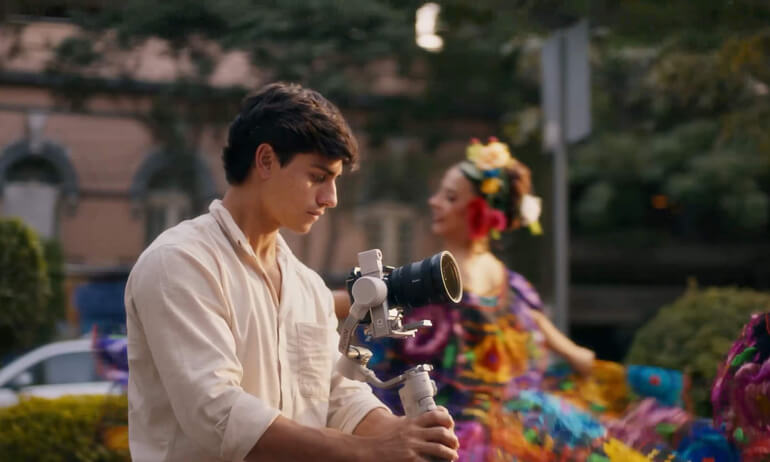
3. The Cinematic Hybrid: DJI Osmo Pocket 3
Best For: Travel Vlogging, Walking Tours, and "Day in the Life" Content.
This isn't just an action cam; it is a 4K camera with gimbal stabilization. The mechanical 3-axis gimbal provides a robotic smoothness that electronic stabilization cannot mimic.
-
Why use it? If you switch between POV shots and filming yourself talking, the fast focus and natural depth of field make this superior to standard action cams.
4. The Value Choice: DJI Osmo Action 4
Best For: Beginners and Urban Exploration.
Don't underestimate the Action 4. With a massive 1/1.3-inch sensor, it creates exceptional low-light footage, making it perfect for evening city rides or subway commutes.
Part 3: The Pre-Shoot Ritual – Preparation Protocol
Amateurs press record and hope for the best. Professionals win the shot before they even leave the house. The environment of POV filming—often rugged, fast-paced, and unpredictable—is unforgiving.
Here is the essential pre-flight checklist to ensure your footage is usable.
1. The Storage Strategy: Speed Matters
4K at 120fps produces massive data streams. A standard MicroSD card will choke, causing "dropped frames" or stopped recordings.
-
The Standard: Ensure your card is rated UHS-I Speed Class 3 (U3) or Video Speed Class 30 (V30) minimum.
-
The Protocol: Never delete files individually from the card via your computer. Always format the card inside the camera before a new shoot. This resets the file structure and reduces the risk of corruption.
2. Lens Management: The Water & Dust Factor
Nothing ruins a great cycling video faster than a single water droplet blurring the center of the lens.
-
Hydrophobic Coatings: The DJI Osmo Action 6 and Action 5 Pro come with hydrophobic lens protectors. Ensure these are screwed on tight.
-
The "Lick" Trick: If you are in the water without coating, a quick lick of the lens (yes, really) creates a temporary saliva film that prevents droplets from beading up.
-
Temperature Acclimatization: If you are moving from a warm car to a cold ski slope, condensation can form inside the lens protector. Open the battery door for a few minutes in the new environment (if dry) to equalize temperature before shooting.
3. Audio Defense: Fighting the Wind
Wind noise is the enemy of immersion. Above 15mph (25km/h), built-in microphones struggle.
-
Internal Settings: Turn on "Wind Noise Reduction" in your Osmo Action settings immediately.
-
External Solutions: For vlogging, pair your camera with the DJI Mic. Its intelligent noise cancelling isolates your voice even in a gale. If capturing pure ambient sound (tires on gravel), use a foam "dead cat" windshield over the camera body.
4. Route Scouting
Don't ride blind. Use tools to visualize the terrain.
-
Sun Position: Know where the sun will be. Shooting directly into a low sun can blow out your highlights. Plan your ride so the sun is behind you or to the side for the best contrast and color.
Part 4: Mounting Mastery – Where to Place the Camera
Amateurs mount for convenience. Pros mount for perspective. The position of your camera dictates the energy of the video.
Helmet Mount vs Chest Mount vs Handlebar Mount
Different mounts deliver different viewing angles. Riders use helmet mounts when they want footage that follows head movement. This angle mirrors natural vision. Chest mounts offer a grounded view that captures handlebars, terrain, and the forward path. Handlebar mounts create a fixed angle that shows the trail direction clearly.
|
|
|
|
|
|
|
|
|
|
|
|
|
|
|
|
Small adjustments in the mount position change the mood of the footage. A slight tilt downward shows more trail texture. A level mount emphasizes horizon movement. Try short tests before long rides to find your preferred angle.
1. The "Chin Mount" (Helmet)
-
The Look: Authentic, immersive, follows your gaze.
-
Best For: Technical MTB trails where line choice matters.
-
Why It Works: Top-mounted cameras flatten the terrain. Chin-mounted cameras show the handlebars and the ground, providing scale and height.
2. The "Chesty" (Chest Mount)
-
The Look: Stable, grounded, intense.
-
Best For: Skiing, fast cycling, and motorbiking.
-
Pro Tip: Angle the camera upside down and tilted slightly up. When you ride, you lean forward; if the camera is level while standing, it will point at the ground when you are in attack position.
3. The Low-Angle (Bike Frame/Fork)
-
The Look: Incredible speed, texture focus.
-
Best For: B-Roll and cutaway shots to mix up your edit. Seeing the suspension work or the tire deform over rocks adds a mechanical appreciation to the video.
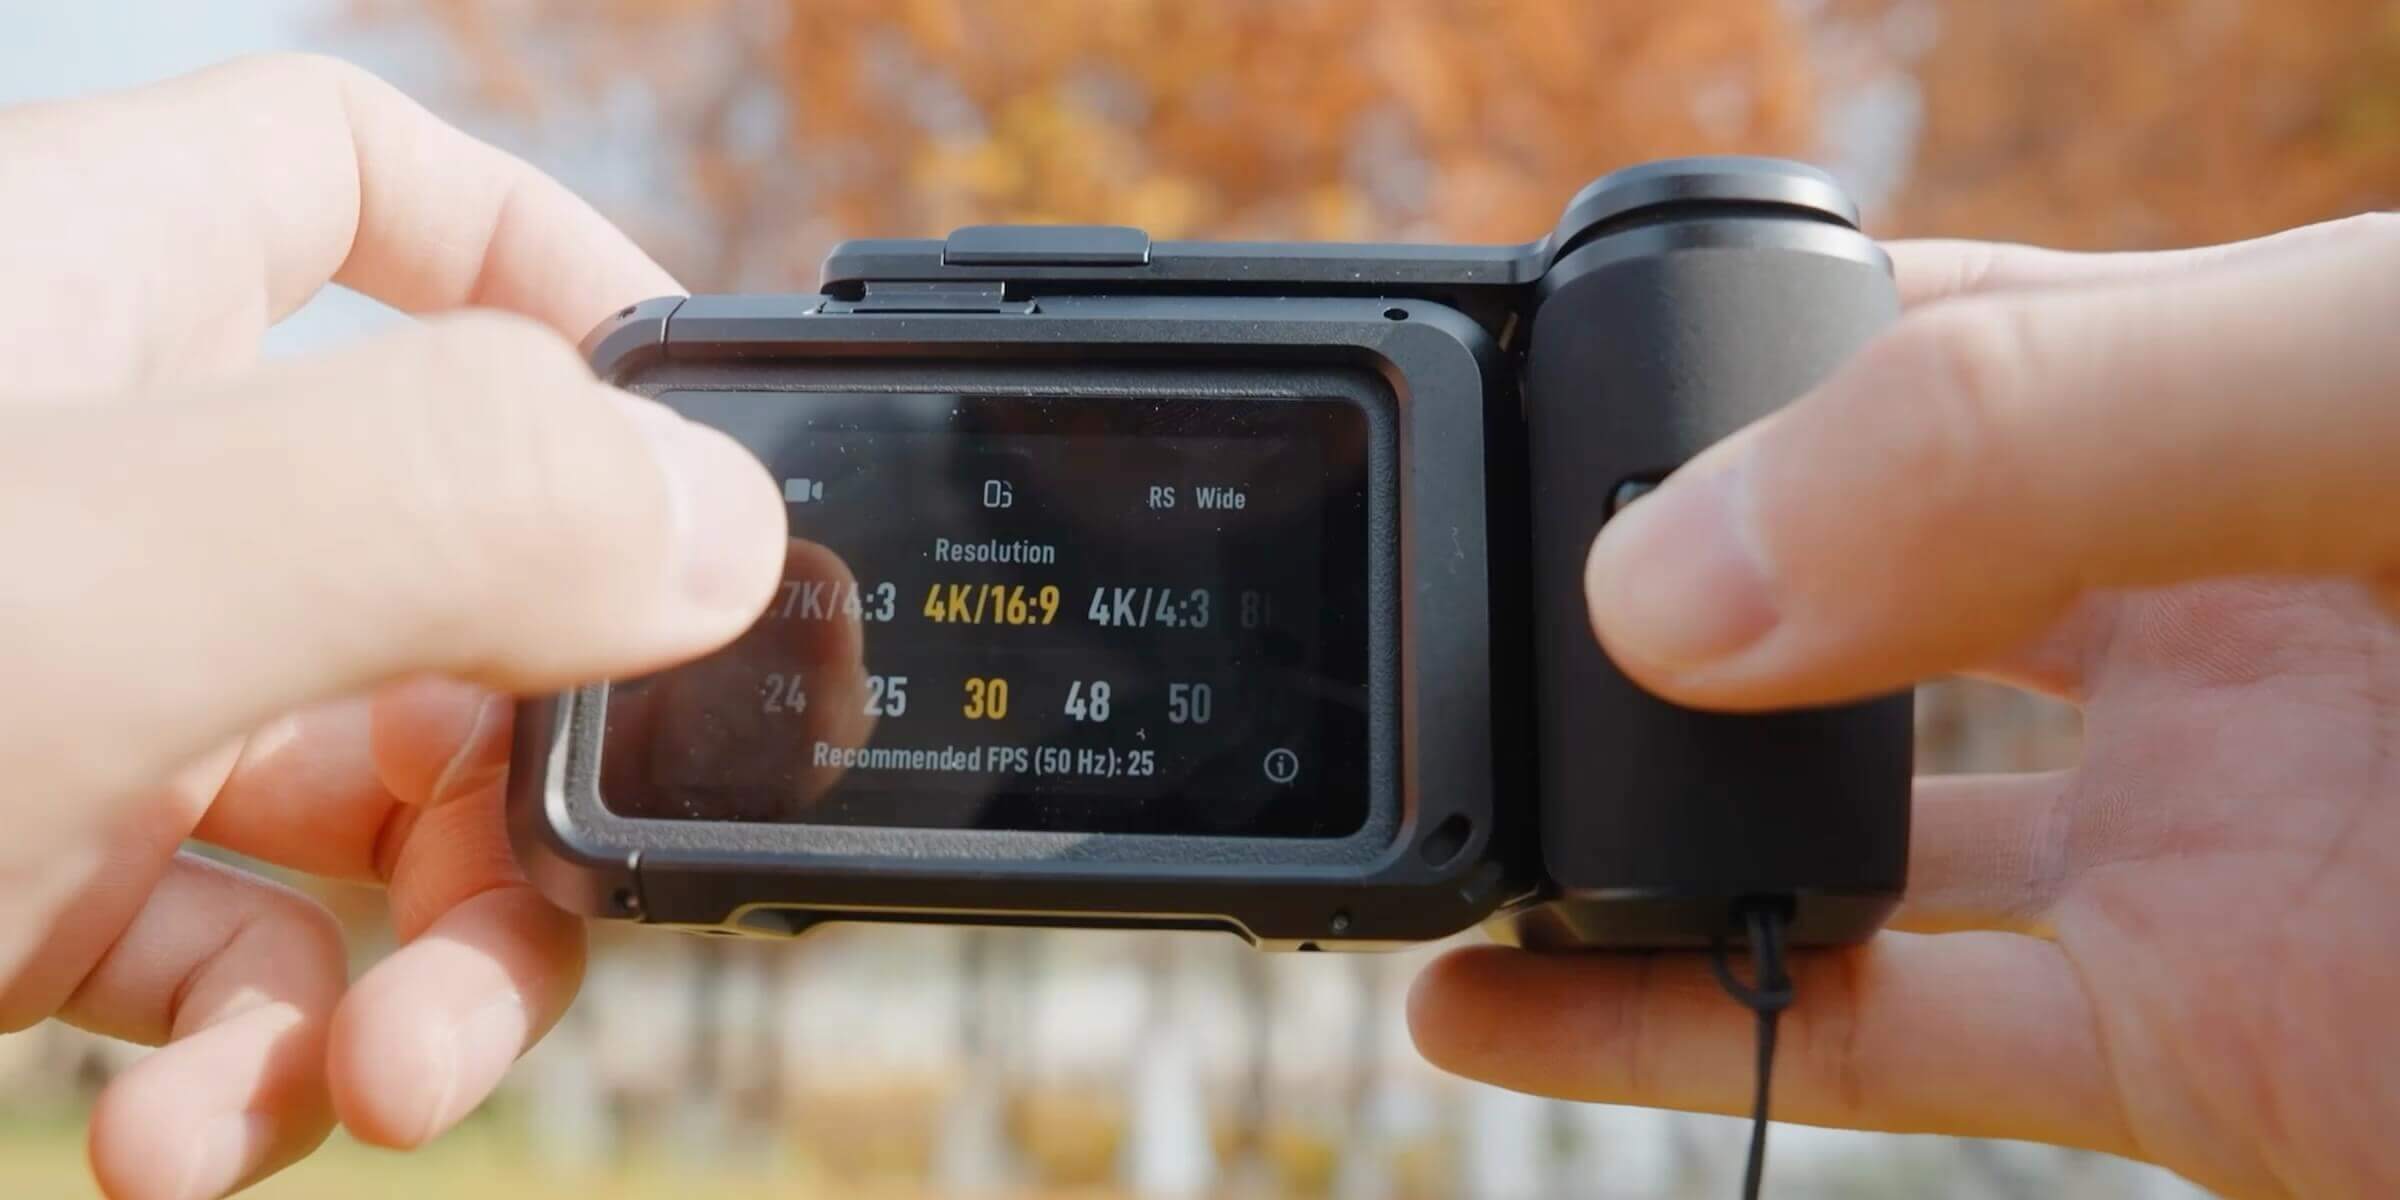
Part 5: The "Set and Forget" Settings for Pro Footage
Don't leave your camera on "Auto" and hope for the best. Dial in these settings to maximize quality and flexibility in post-production.
|
|
|
|
|
|
|
|
|
|
|
|
|
|
|
|
|
|
|
|
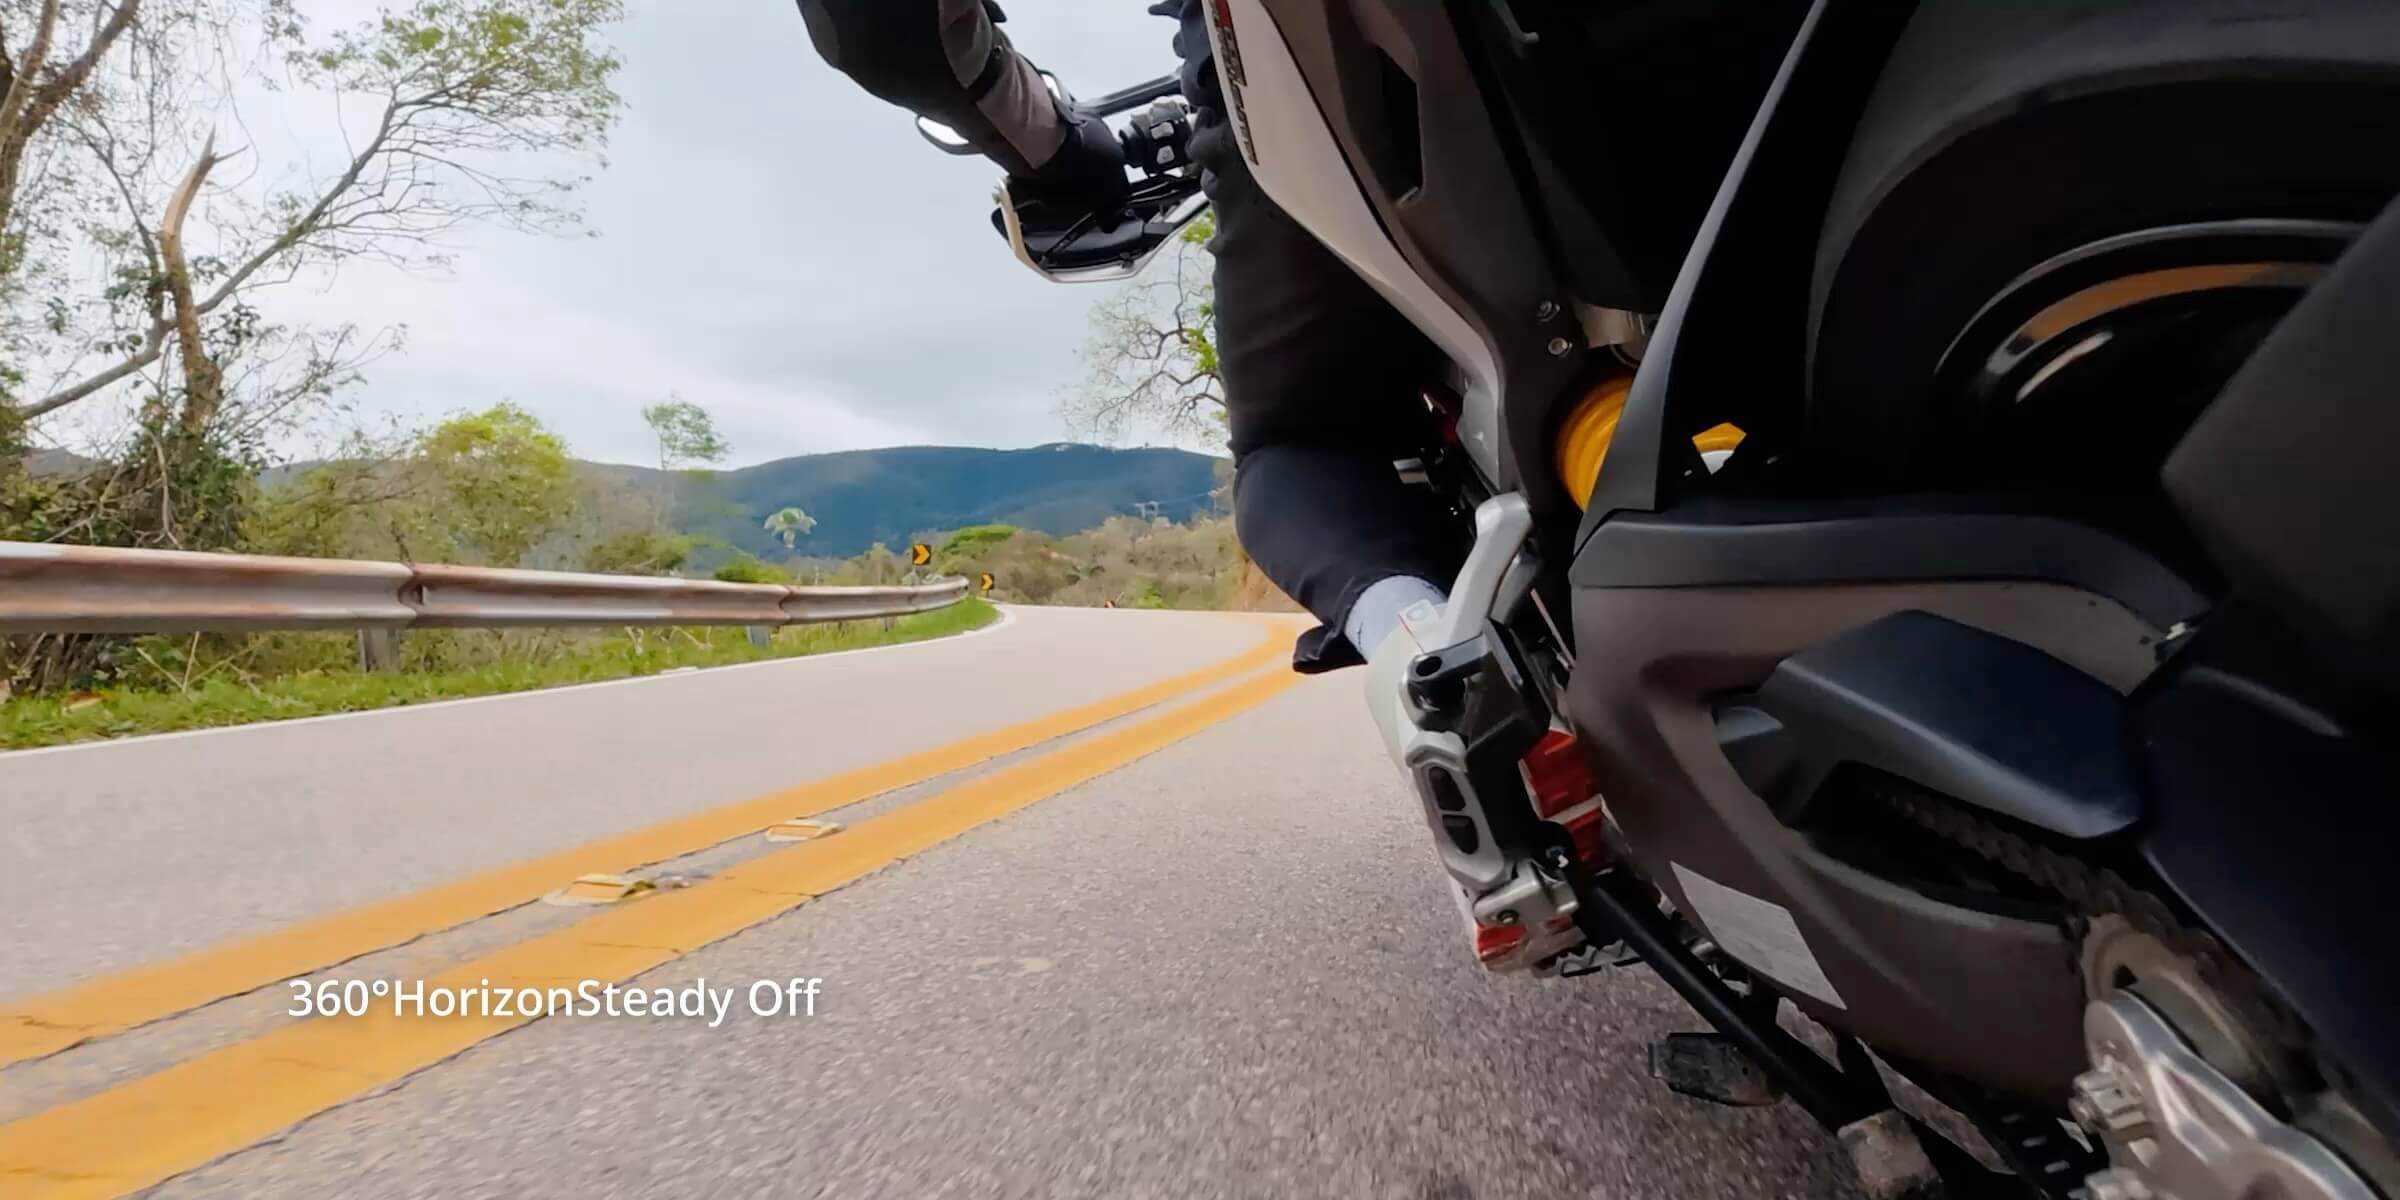
Stabilization: RockSteady vs. HorizonSteady
DJI’s electronic stabilization is world-class, but you must choose the right mode:
-
RockSteady 3.0: Smooths out shakes but allows the horizon to tilt with you.
-
Use when: You want the viewer to feel the lean of the bike in a corner.
-
-
HorizonSteady: Keeps the horizon perfectly level, even if the camera rotates 360°.
-
Use when: Running, walking, or rough off-roading where camera shake induces nausea.
-
Part 6: Beyond Action – Modern Trends in POV Application
Ten years ago, POV cameras were only for adrenaline junkies jumping out of planes. Today, the best action cameras are being used in surprising, creative ways across social media. Here is how you can apply these trends.
1. The "Silent Vlog" & ASMR
A massive trend on YouTube and TikTok involves creators recording "A Day in the Life" entirely in POV, without speaking. They capture the sound of coffee grinding, the subway commute, and the typing on a keyboard.
- Gear Requirement: High dynamic range (like the Osmo Action 5 Pro) to handle indoor/outdoor lighting shifts, and high-quality internal audio capture to pick up subtle sounds.
2. Urban Exploration (Urbex) & Street Photography
Street photographers are now wearing action cameras on their chests while they take photos with a main camera.
-
The Concept: Viewers get to see the photographer "scan" the scene, spot the subject, and click the shutter. It provides context to the final photograph.
-
Gear Choice: The Osmo Action 4 is popular here for its discreet, blacked-out profile and exceptional low-light performance in city alleys.
3. Real Estate and Interior Design Tours
Realtors are ditching the slow, boring tripod pans for fast, stabilized POV walk-throughs.
-
The Shift: A continuous, one-take POV shot walking through a front door, up the stairs, and into the master bedroom gives a better sense of "flow" and layout than disjointed photos ever could.
-
Gear Choice: DJI Osmo Pocket 3. Its mechanical gimbal keeps the footage distinctively smooth (floating), which feels more premium than the "jerky" motion of pure action cameras.
Part 7: Editing – The Final Polish
Great POV footage is made in the edit. You have the raw materials; now build the story.
-
Cut the "Dead Air": Remove the prep time. Start the clip in the action. Don't show yourself pressing the record button.
-
Sound Design: Wind noise kills immersion. In post-production, lower the background hiss and boost the specific sounds: the tire crunch, the breathing, the city ambience.
-
Speed Ramping: Don't just play the whole clip at real speed. Fast-forward the boring straights and slow down (shoot in 60fps!) for the jumps or technical sections. This dynamic pacing keeps viewers engaged.
Final Thoughts
The difference between a "home video" and a "viral clip" is rarely the scenery—it’s the technique.
By combining the robust hardware of the DJI Osmo series with a disciplined pre-shoot ritual and deliberate mounting, you can capture the world exactly as you see it: vivid, fast, and unforgettable. The tools are ready. The rest is up to you.
Related Articles
What Makes the Action Camera? Features You Shouldn’t Miss?
Why Every Vlogger Needs a Gimbal Camera in Their Kit
FAQs
What is a POV camera used for?
A POV camera is used to record footage from the creator’s direct point of view. It places viewers inside the moment, showing exactly what the creator sees while moving through an environment. This makes it popular for cycling, hiking, travel walks, and adventure activities. Natural head or body movement adds realism, helping viewers sense speed, terrain changes, and surroundings. POV footage feels immersive and personal, as if the audience is part of the experience rather than watching from a distance. This style works well for storytelling, tutorials, and outdoor content where perspective matters.
How do I choose the best action camera for cycling?
Choosing the best action camera for cycling depends on stability, durability, and field of view. Strong image stabilization is essential to handle vibrations from roads and trails. A wide field of view helps capture surroundings, traffic, and scenery without constant adjustments. The camera should have a solid build to handle dust, wind, and occasional impact. Long battery life and easy mounting options are also important for extended rides. Together, these features help cyclists capture smooth, reliable footage without distraction during long or challenging sessions.
What settings work well for outdoor travel filming?
Outdoor travel filming works best with balanced camera settings that adapt to changing environments. A moderate resolution offers clear visuals without straining storage or battery. A steady frame rate keeps motion smooth while walking through streets or riding vehicles. A wide field of view captures surroundings naturally, which is helpful in busy markets or open landscapes. Auto exposure with light adjustment, combined with stabilization, helps handle quick lighting changes. These settings keep footage consistent and comfortable to watch across varied travel conditions.
Why does stabilization matter in POV recording?
Stabilization is crucial in POV recording because movement is constant. Without it, footage can feel shaky and uncomfortable to watch. Stabilization reduces sudden jolts caused by walking, cycling, or uneven terrain. This keeps visuals smoother and helps viewers stay engaged without feeling dizzy or distracted. Clean motion also makes details easier to see, such as paths, surroundings, or actions. In POV content, stabilization preserves realism while maintaining comfort, making the experience feel natural rather than chaotic.
How do I protect my camera during outdoor shoots?
Protecting your camera during outdoor shoots starts with using secure mounts that keep it firmly in place. Protective covers or cases help shield it from dust, rain, and moisture. Storing the camera in a padded bag when not in use prevents damage during travel. Regularly checking mounts and cleaning lenses helps maintain performance. These precautions are especially important during long shoots or active movement. Proper protection extends the camera’s life and ensures reliable performance in changing outdoor environments.